⚠️ Obfuscate Your USDT Like a Pro
Privacy is not a luxury — it’s a necessity. 👁️🗨️
USDT Mixer gives you the tools to hide your on-chain tracks, instantly.
No data. No identity. No trace. Just pure crypto freedom.
- Step by Step Guide Tor Mixer: Master Audio Mixing for Beginners
- Understanding Your Mixer’s Anatomy
- Step by Step Mixer Setup Guide
- Essential Mixing Techniques
- Gain Staging
- EQ Shaping
- Creating Depth with Panning
- Advanced Routing: Effects & Subgroups
- Common Mixer Issues & Fixes
- FAQ: Your Mixer Questions Answered
Step by Step Guide Tor Mixer: Master Audio Mixing for Beginners
Navigating an audio mixer can seem daunting for newcomers, but with this comprehensive step by step guide tor mixer, you’ll gain confidence in operating professional equipment. Whether you’re a podcaster, musician, or live sound engineer, understanding mixer fundamentals unlocks crystal-clear audio. We break down setup, signal flow, and advanced techniques into actionable steps—no prior experience required!
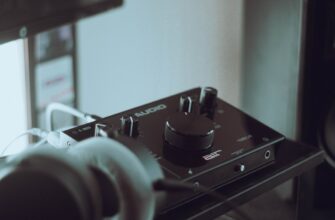
Understanding Your Mixer’s Anatomy
Before diving into operations, familiarize yourself with core components:
- Channels: Vertical strips controlling individual audio sources (microphones, instruments).
- Faders: Slide controls adjusting volume levels for each channel.
- EQ Section: Knobs for boosting/cutting bass, mid, and treble frequencies.
- Aux Sends: Routes audio to external effects or monitor speakers.
- Master Section: Controls overall output to speakers/recording devices.
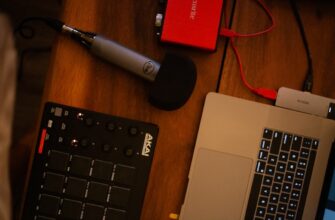
Step by Step Mixer Setup Guide
- Power Down & Connect: Turn off all devices. Plug mixer into power, then connect main outputs to speakers/interface using XLR or 1/4″ cables.
- Source Connections: Attach mics/instruments to channel inputs via XLR (mics) or jack cables (instruments).
- Initial Settings: Set all faders to unity (0dB), EQs to neutral (12 o’clock), and pan knobs centered.
- Power On Sequence: Activate speakers LAST to avoid damaging them with power surges.
- Signal Check: Test each input by tapping mics or playing instruments—watch for clipping indicators (red LEDs).
Essential Mixing Techniques
Gain Staging
Critical for clean audio! Adjust the gain knob until peak levels hit -6dB to -3dB on channel meters—avoid red clipping lights.
EQ Shaping
- Cut, Don’t Boost: Reduce problematic frequencies first (e.g., decrease bass rumble at 100Hz).
- Vocal Clarity: Slight boost at 3kHz enhances speech intelligibility.
Creating Depth with Panning
Position instruments spatially: pan guitars left/right, keep vocals centered for a balanced stereo image.
Advanced Routing: Effects & Subgroups
- Connect reverb/delay units to aux send outputs.
- Turn up aux knobs on channels needing effects.
- Group related channels (e.g., drum mics) to a subgroup fader for unified control.
Common Mixer Issues & Fixes
- No Sound? Check mute buttons, cable connections, and master volume.
- Hum/Buzz: Use balanced cables, isolate power sources, or engage ground lift switches.
- Distortion: Lower gain levels or reduce EQ boosts.
FAQ: Your Mixer Questions Answered
Q: How many channels do I need for a podcast?
A: Start with 4-6 channels: 2 for hosts, 1 for guests, plus spares for music/effects.
Q: Can I record directly from a mixer?
A: Yes! Use main outputs or dedicated record outs to connect audio interfaces.
Q: What’s phantom power, and when to use it?
A: It’s +48V power for condenser mics. Engage only when using such mics—never for dynamic mics or instruments.
Q: How do I avoid feedback during live events?
A: Position speakers in front of mics, cut resonant frequencies via EQ, and use directional microphones.
Mastering your mixer transforms raw audio into polished productions. Revisit this step by step guide tor mixer whenever you face challenges, and remember: practice and experimentation are your greatest tools. Happy mixing!
⚠️ Obfuscate Your USDT Like a Pro
Privacy is not a luxury — it’s a necessity. 👁️🗨️
USDT Mixer gives you the tools to hide your on-chain tracks, instantly.
No data. No identity. No trace. Just pure crypto freedom.